May 20, 2026
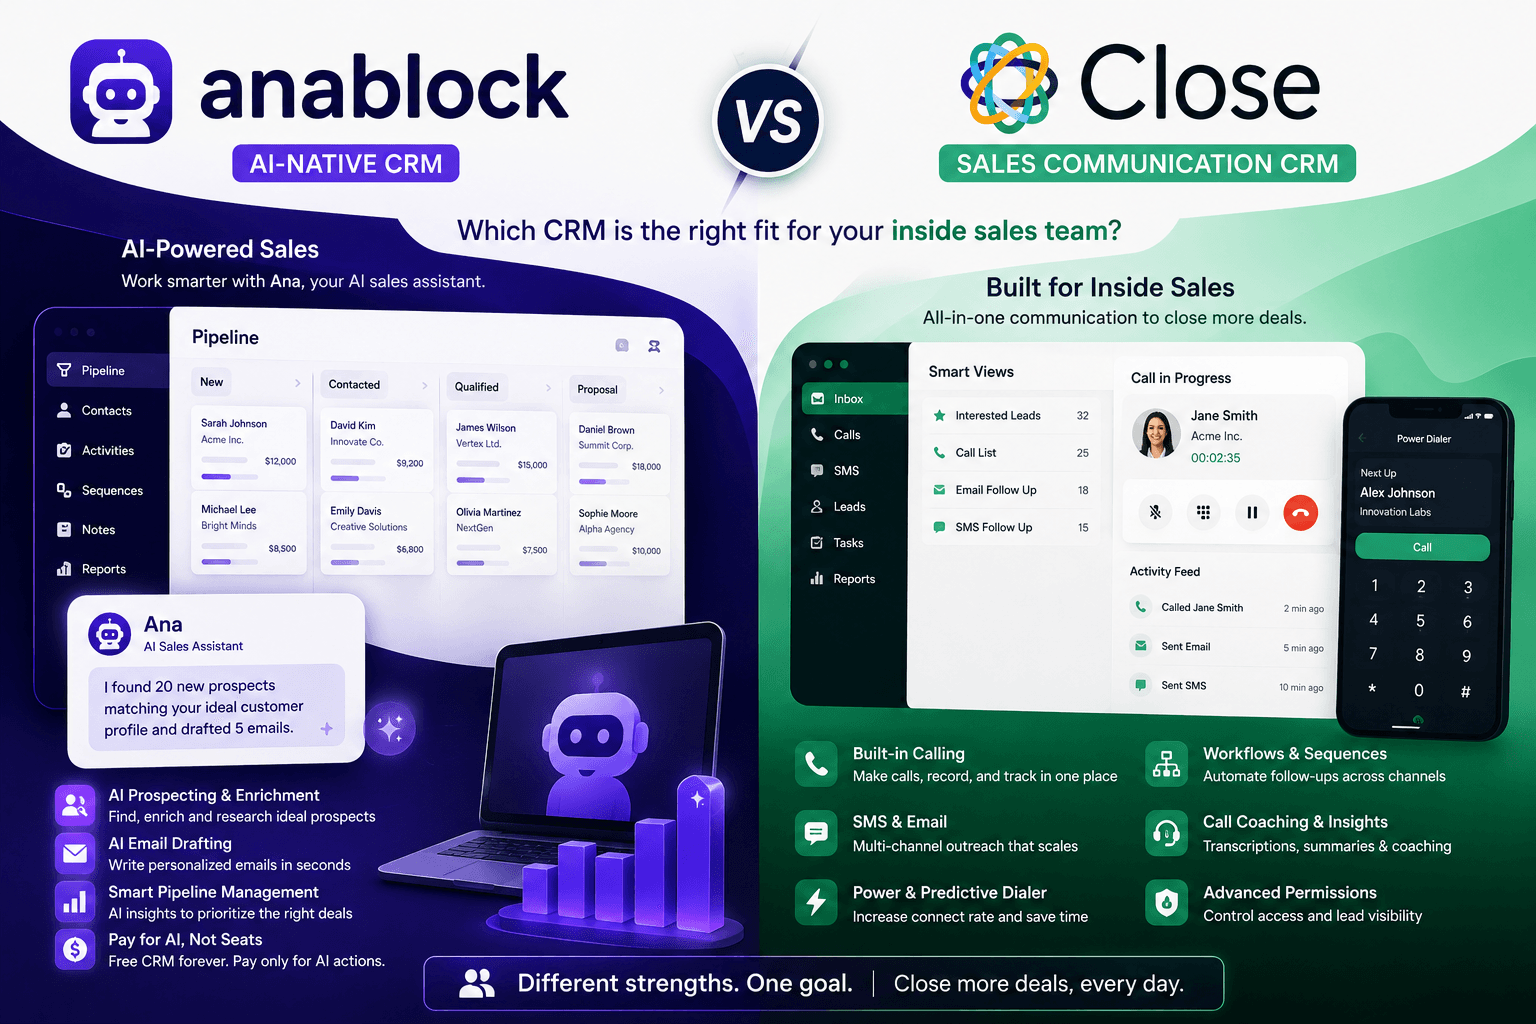
A practical comparison of Anablock and Close CRM for inside sales teams, covering AI features, built-in calling, SMS, dialers, pricing, workflows, and which platform is the better fit for different sales motions.

a. Create a Connected App in Salesforce
Log in to your Salesforce account.
Navigate to Setup > Apps > App Manager.
Click New Connected App.
Enter the necessary details (e.g., name, email). In the API (Enable OAuth Settings) section, enable OAuth Settings.
Specify the Callback URL (you can use https://www.getpostman.com/oauth2/callback for Postman).
Select the required OAuth Scopes (e.g., Access and manage your data (api)).
Save the app and note down the Consumer Key and Consumer Secret.
b. Obtain Security Token
If not already received, you can reset your security token by going to My Settings > Personal > Reset My Security Token in Salesforce. The new token will be emailed to you.
a. Import Salesforce Collection (Optional)
You can start with a Salesforce Postman collection if available, or create your own requests.
b. Set Up OAuth 2.0
Go to the Authorization tab in Postman.
Choose OAuth 2.0 as the type.
Click Get New Access Token.
Fill in the token name, grant type (Authorization Code), callback URL (used in the connected app), Auth URL, Access Token URL, Client ID (Consumer Key), Client Secret, Scope (full), and state.
Auth URL: https://login.salesforce.com/services/oauth2/authorize
Access Token URL: https://login.salesforce.com/services/oauth2/token
Request the token and save it.
a. Create (POST)
Set the method to POST.
Use the endpoint https://yourInstance.salesforce.com/services/data/vXX.0/sobjects/ObjectName/, replacing yourInstance with your Salesforce instance and ObjectName with the Salesforce object you're targeting (e.g., Account).
In the Body tab, select raw and enter the JSON data for the new record.
b. Read (GET)
Set the method to GET.
Use the endpoint https://yourInstance.salesforce.com/services/data/vXX.0/query/?q=SOQL_Query, where SOQL_Query is your Salesforce Object Query Language query, e.g., SELECT+name+FROM+Account.
c. Update (PATCH)
Set the method to PATCH.
Use the endpoint https://yourInstance.salesforce.com/services/data/vXX.0/sobjects/ObjectName/ RecordId, specifying the ObjectName and RecordId of the record you want to update.
In the Body tab, select raw and enter the JSON data with the fields you want to update.
d. Delete (DELETE)
Set the method to DELETE.
Use the endpoint https://yourInstance.salesforce.com/services/data/vXX.0/sobjects/ObjectName/ RecordId, specifying the ObjectName and RecordId of the record you want to delete.
After each request, check the status code and response body to ensure the operation was successful.
Handle errors according to Salesforce's error codes and messages.
Always test CRUD operations in a sandbox environment before executing them in production.
Manage your OAuth tokens securely.
Be mindful of Salesforce's API rate limits to avoid service disruption. This guide provides a general framework for performing CRUD operations on Salesforce using Postman. Depending on your specific use case and Salesforce configuration, additional steps or adjustments may be necessary.